Inventory
With the inventory module, you can maintain precise control over the inventories that you have. It serves as a repository for your inventory data, enabling you to keep track of items, transactions, and historical records. The following receipts are available in this module, each receipt type comes with its own form and is mainly integrated with the Account Module to select clients or vendors and items list when adding items to your inventory receipts.
Types of Inventory Receipts
- Release Receipts: Used for issuing goods or products from your inventory.
- Purchase Receipts: Document incoming stock items or goods acquired from vendors.
- Transfer Receipts: Manage item transfers between different locations or departments.
- Revision Full Receipts: Record complete audits or revisions of your inventory.
- Revision Part Receipts: Record partial revisions to maintain accurate inventory data.
Release Receipt
- Click on "New- Release Receipt" to add a new release receipt.
Receipt Details:
- Choose the status for your release receipt, which can be in "DRAFT," "POSTED," or "ARCHIVED."
Select the client associated with the release. You can search for an existing client from the list. - Choose the location for the release receipt.
Item Details:
For each item to be released, you must specify:
- Item: Click on "Import" or use the "Search For Items" option to select items from your stock list. It's important to choose items from your stock list to ensure accurate tracking.
- Description: Add a brief description of the item.
- Measure: Indicate the unit of measurement.
- Quantity: Enter the quantity of the item being released.
- Stock Availability: Check the availability of stock for the selected item.
- Price: Set the price per unit.
- Total: The total cost will be calculated automatically.
Remember that it's important to select items from your list of items during the "Item" selection step to ensure accurate tracking and prevent errors when adding release receipts for items. Once you have the release head to the profile section to see details.
From the Inventory Profile, you can:
- Send Receipts: Share inventory receipts with relevant stakeholders.
- Download Receipts: Export the receipts for external use or record-keeping.
- Edit Receipts: Make any necessary adjustments directly from the profile.
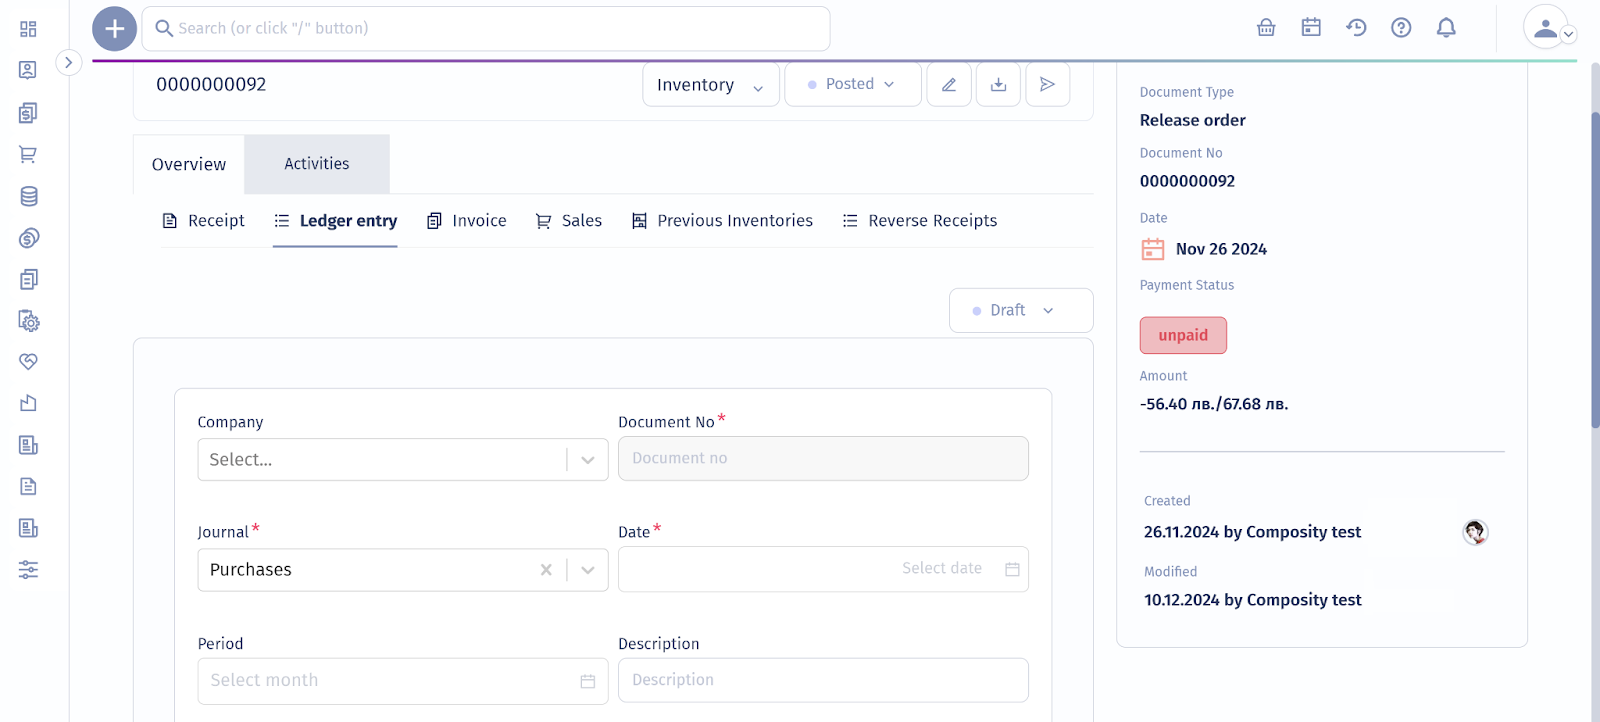
Ledger Entry for Inventory Management
To manage ledger entries for inventory, switch to the Ledger Entry section. This enables you to record financial details related to the inventory and maintain accurate accounting records.
Key fields in the ledger entry form include:
- Company: Select the associated company from the dropdown list.
- Document No: Assign or select a unique document number for the ledger entry.
- Journal: Choose the appropriate journal category, such as "Purchases" or "Sales."
- Date: Enter the date of the transaction.
- Period: Specify the accounting period.
- Description: Provide a brief description of the entry for clarity.
Ledger Entry Table
For each row in the ledger entry table, you can input detailed information, including:
- Reference: Specify the reference number or document associated with the entry.
- Chart of Account: Select the applicable chart of accounts for categorizing the transaction.
- Amount Original: Enter the original amount in the transaction's currency.
- Currency and Rate: Specify the currency and exchange rate for the transaction.
- Amount Local: The system will calculate the local amount based on the currency and rate.
- Debit or Credit: Indicate whether the amount is a debit or credit.
- Additional Fields: Include details such as billing data, location, project, item, or asset, depending on the transaction's context.
Use the New Row option to add additional entries as needed.
From the Inventory Profile, you can also access additional functionalities such as:
- Invoice: Generate invoices related to inventory transactions.
- Sales: Review sales associated with the inventory.
- Previous Inventories: View and manage records of past inventory transactions.
- Reverse Receipts: Process reversed receipts to correct or adjust inventory records as needed.
By following these steps, you can ensure that your inventory and ledger entries are accurately managed and aligned with your organization's financial processes.
Purchase Receipt
Adding a purchase receipt is similar to a release receipt, with the primary difference being the vendor details instead of the client. Following the above steps, you can efficiently add a purchase receipt to the Inventory Module.
Transfer Receipt
- Click on "New-Transfer Receipt."
Receipt Details:
Choose a status for your transfer receipt, such as "DRAFT," "POSTED," or "IN PROGRESS."
Provide a document number for reference and select the date of the transfer.
Select Locations:
- Indicate the source location (Location From) from which the items will be transferred.
- Choose the destination location (Location To) where the items will be received.
Item Transfer:
Add the items to be transferred. For each item, you should specify:
- Item: Click on "Import" or use the "Search For Items" option to select items from your stock list.
- Description: Provide a brief description of the item.
- Stock Availability: Verify the availability of stock for the selected item.
- Quantity: Enter the quantity of the item to be transferred.
Revision Full and Part Receipt
Click on "New Revision Full."
Receipt Details:
Select a status for your revision receipt, such as "DRAFT," "POSTED," or "ARCHIVED."
Assign a document number for reference and specify the date of the revision.
Choose Location:
Indicate the location where the full revision is taking place.
Item Revision:
Add the items you wish to revise fully. You can either "Import" or "Search" for Items from your stock list.
Part Revision Receipt
The steps for adding a part revision receipt are similar to those for a full revision, with the only difference being the recording of items that require partial revision, rather than a full revision.
Setting Up Inventories
You can customize your inventory forms to include the necessary fields. This allows you to track and manage your inventory efficiently, whether you're adding new items, recording transactions, or conducting revisions.
Inventory Form Types
- Navigate to "Settings" and select "Form Types."
- In the "Forms" section, click on the "Open" button to access a grid containing all available forms.
To add a new inventory form, click on the "New" button and select the "Inventory" form type from the drop-down menu. - Based on your business requirements, you can activate or deactivate various form fields. Activated fields will be available when adding new inventory data.
Stages
Define the stages that represent the phases your inventory items go through. While this field is optional, setting up stages can help in tracking the progress of inventory transactions. If no stages are specified, the system will default to the stages defined in the Inventory module. Additional stages can be added in the account settings under "Document Stages and Workflow."
Basic Information
- Document No: Automatically generated by the system, this field identifies each inventory document.
- Date: Record the date of the inventory transaction. This field is essential for tracking and historical record-keeping.
Item Details
Add a brief description of each item, Quantity, Stock Availability and Price.
Location Details
- Location From: Specify the source location for inventory transfers. This is important for tracking the movement of goods between different locations.
- Location To: Indicate the destination location where items will be received or stored.
Financial Information
- Ledger Account: Link the inventory transaction to a specific ledger account. This helps in integrating inventory data with financial records.
- Payment Terms: Define the payment terms related to inventory purchases or sales, such as Net 30 days. Clear payment terms ensure smooth financial transactions.
- Pricelist: Select the price list applicable to the inventory items. This field ensures that the correct pricing structure is applied.
- Discount Group: Assign the inventory items to a discount group if applicable. This allows for automatic discount application during transactions.
Additional Attributes
- Attribute Group: Assign specific attributes to inventory items, such as categories or tags. This is useful for organizing and searching inventory data.
- Location: Specify the geographic location related to the inventory, such as a warehouse or store location.
- Owner: Assign responsibility for the inventory transaction to a specific user or team. This field ensures accountability and proper management.
- Currency: Choose the currency used for inventory transactions. Accurate currency settings are essential for international operations and financial reporting.